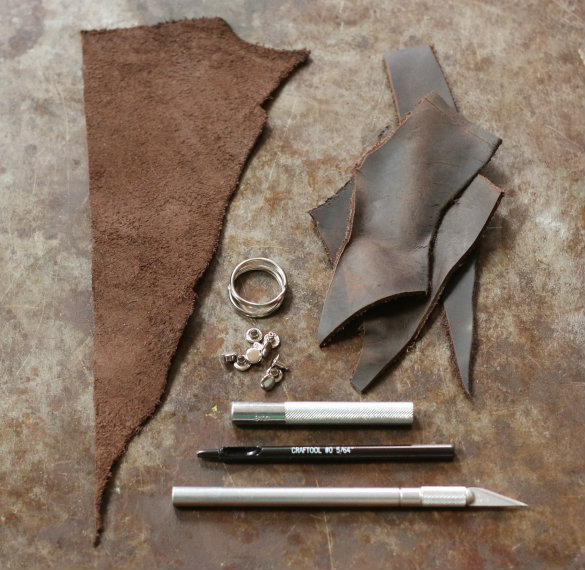
A few weeks back we hit up our local leather crafting store to pick up a large scrap of leather for the DIY catchall tray project we had in the works. Since the tray project required a flush leather square, we were left with several leftover scraps to make use of...
So we made leather key rings! These key fobs are so simple to create, feel a little rustic and make for a fun DIY gift — all they require are a few straight cuts, simple folding and a single rivet. If you don't have (or want to use) leather scraps, faux leather or heavy-weight felt would make fine substitutes.
You'll Need:
- Scrap leather
- Craft knife
- Ruler
- Double-cap rivets
- Rivet setter
- Leather craft punch
- Hammer
- Key rings (lots of good options on Etsy)
Cut the leather scraps into strips with a sharp craft knife against the straight edge of a ruler, creating a clean cut all the way through. Very sharp scissors will also work if you have a steady hand. You can experiment with different size strips, we opted for 3/4"x3" and 1/4"x5" since that's what our leftover scraps would yield.
Make two diagonal cuts on the shorter of the two strips (folded over on itself, they will overlap), and another two diagonal cuts on a single side of the longer strip to form a point:
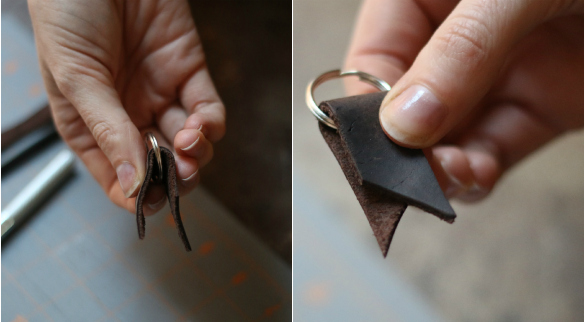
We'll start with the wider of the two pieces, since it's a bit simpler. Fold leather strip in half over keyring so ends align and tails overlap:
Using the leather punch, hammer a hole through the center of the folded leather so it goes through both sides:
Push rivet through through the holes, fit with rivet cap and give a few firm taps with the hammer using the rivet setter to secure:
Gently tug the leather to ensure rivet is secured and you're good to go!
For the second key fob (the longer of the two original strips), start by folding the top flat end of leather over a keyring loop, then fold the pointed end up to overlap the flattened end:
The goal here is to enclose the keyring at the top, leaving a longer loop underneath, so you'll be punching the hole through all three layers of leather during this step. Just as before, once the hole is punched, push rivet through the 3 layers, fit with rivet cap and give a few firm taps with the hammer using the rivet setter to secure:
That's all it takes!
You can experiment with different lengths and widths to achieve different keychain looks and sizes. Fit with your favorite keys for immediate use, or fashion with an antique key to give as a housewarming gift.
Discover More:


love this...
ReplyDeleteHow much does it cost to make one?
ReplyDelete