We've been talking about moving our laundry upstairs since moving into this house (that's 7 years of talking) and this is the year we're finally making it happen! Wow, it feels good to say that. And! After coming through a 12-week kitchen renovation over the summer, we swore up and down we were done with tearing out walls for a good while, but here we are again and I have to admit it also feels good to be back at it. Today we're sharing all the plans, what we're losing and what we'll gain throughout the process.
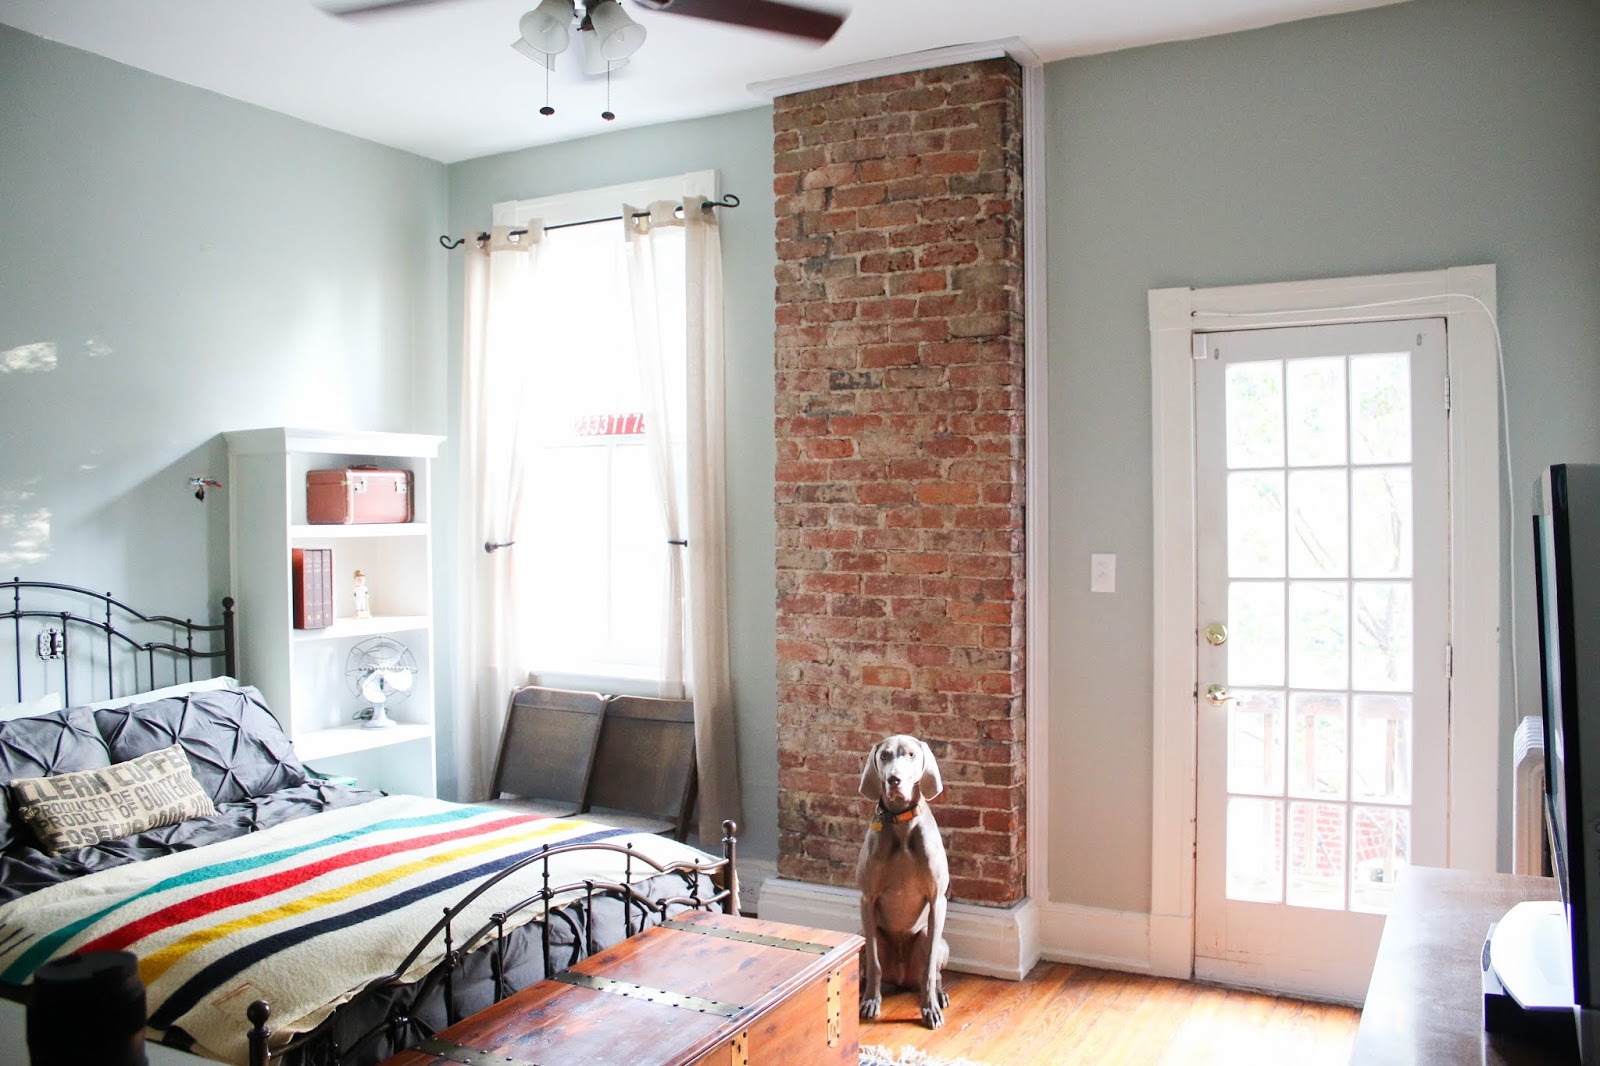
For some background, we've decided it's time to give the upstairs office some much-needed attention. After Brandon moved out, we moved our office in for a little more privacy and the ability to open up our downstairs flow a bit more. We put all of our energy into completing the front sitting room, that the upstairs office has acted as more of a holding ground where we just plopped all the furniture. Keeping it real, friends:
Well, that's all about to change! First, we'll focus on completing a laundry nook in this room, then transforming the rest of the space into the multi-functional office we've been imagining. For more on the overall room design, you can read this post where we share layout concepts.
It wasn't until the room was completely empty after he moved out that we began to see it in a new light. Our idea is to create an enclosed laundry closet that we can conceal when using the room for other things, but with enough personality on the inside that it will feel like a thought-out space we actually enjoy doing laundry in.
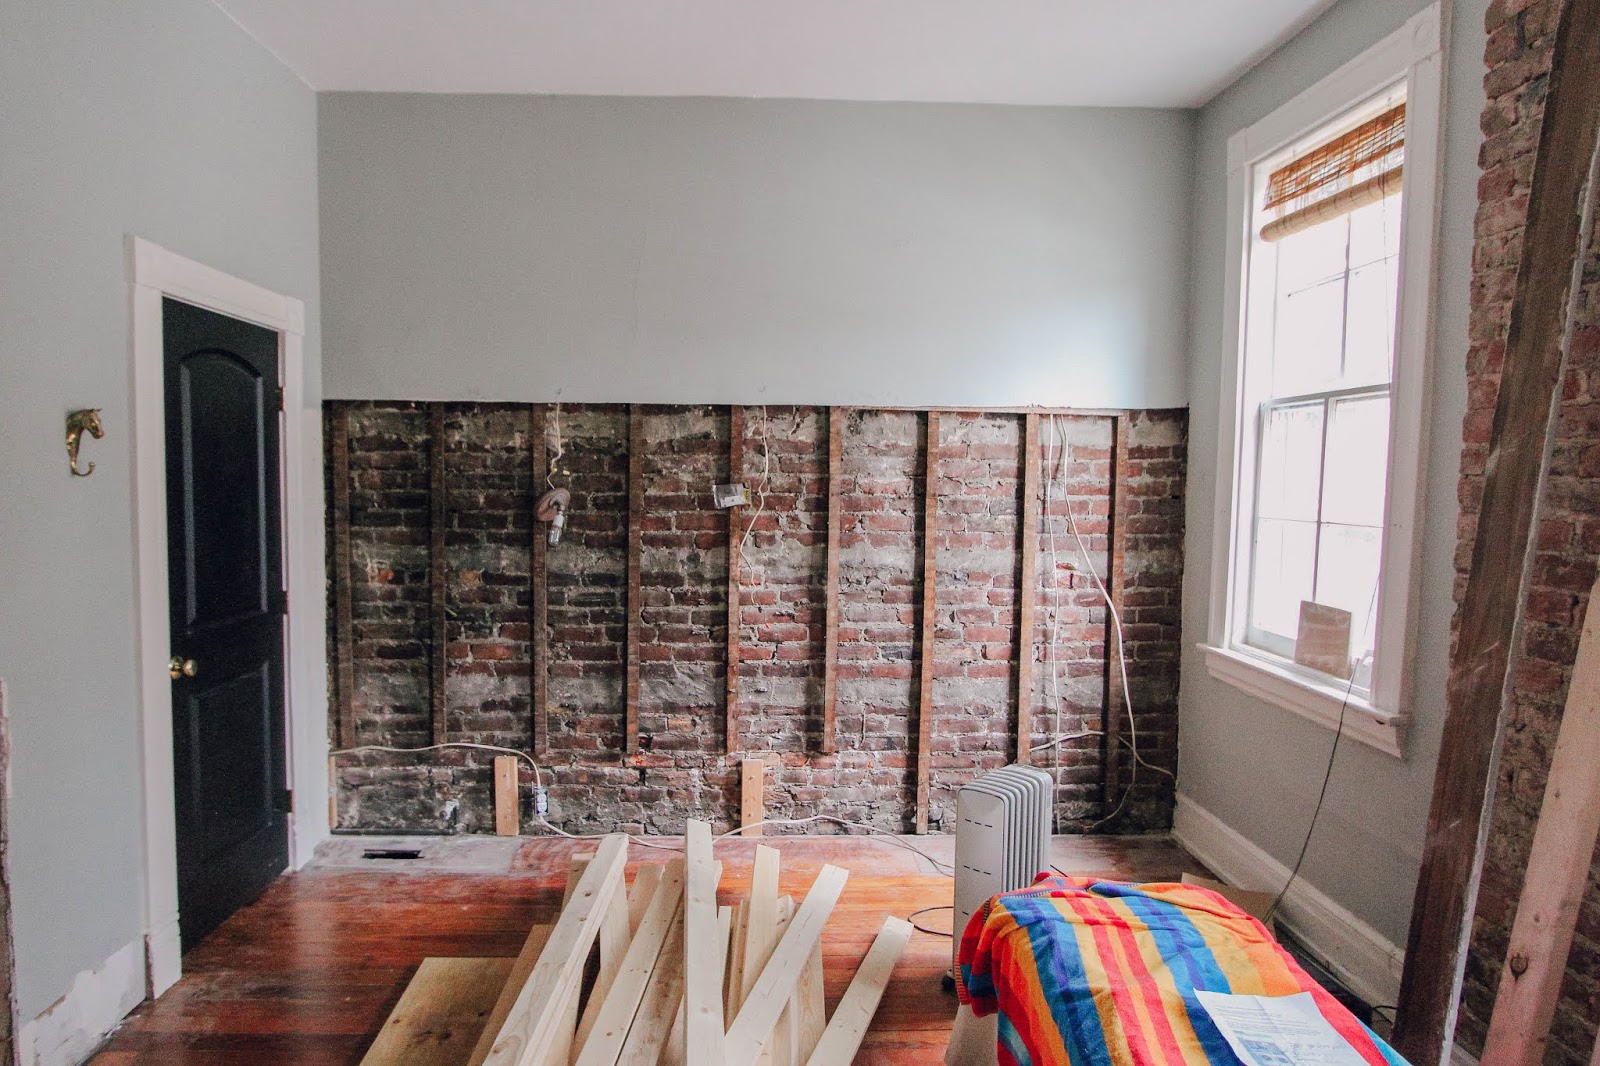
At one point, our home had been converted into a duplex (then re-converted back to a single family before we moved in). This back bedroom would have been the kitchen for the upstairs unit. When Tim tore out the bookcases in here, we uncovered plumbing from where the gas lines had been. We've also had a dryer unit receptacle on the wall leading down the back stairs, so we always figured this was where the laundry units were in the duplex as well. It didn't take long for us to realize that by covering the back steps, we could create a much larger laundry nook than we'd originally planned for and the placement would make so much more sense for the way we envision using the back room.
Now, that same angle looks like this:
That board on the floor is where the top of the back staircase was. We did debate on whether it was a good decision to cover the back staircase — it's filled with character and was one of the unique features that drew me to our home in the first place. That said, we rarely use it and both felt strongly that bringing a proper laundry area upstairs outweighed the negatives of doing so, both for ease of use while we're living here and potential resale down the road. We've also gone about the work in a way that preserves the entire staircase underneath should we or anyone in the future want to re-expose it.
So far, we've completed all of the demo work — removing the half wall, trim and plaster from the staircase and while we were at it, we decided to go ahead and remove half of the back wall along this room where we'd had some pretty extensive bulging and cracking along the plaster (gotta love an older home and all of its "gifts"). When we had it set up as a bedroom, the bookcases and headboard concealed those issues, but now we're ready for a completely clean slate. Tim is also in the middle of doing the electrical work.
One of the best surprises we uncovered during the demo was the laundry plumbing in its entirety (albeit covered up with plaster) back from when the house was a duplex. This wall backs up to our hallway bathroom and we'd budgeted for plumbing the new laundry, so finding everything intact felt like striking gold! We did still have our plumbers come out to make sure everything was up to par and they actually swapped in a new outlet box to bring it up to code with current hardware but overall we saved on plumbing — Ka-Ching!
Next up on the list is framing out the enclosure, then will come drywall and trim before we can get to the finishing touches like tile, shelving, and paint.
Image via Southern Living
Speaking of the design details, we haven't landed on a final design but know enough to finish out the space before needing to decide. For example, we know we want side by side units with storage above and doors that will neatly close everything off. The image above is what we've been using for layout inspiration. This one below has more of the vibe we're going for in terms of color and finishes.
Image via Studio McGee
We're still thinking through questions like the style of the washer/dryer (does anyone have a strong opinion on front load vs. top load?), flooring, shelves, and backsplash. In that spirit, I've got a running collection of inspiration and ideas over on Pinterest (come see!). The possibilities feel endless.
While we're just getting started, man it feels good to be that much closer to having a laundry room upstairs. Here's to progress and embracing change!
For more room transformations and finished spaces in our home, browse our House Tour page.


Tim, I suggest a Washer that has a Vibration Reduction feature since the Washer will be upstairs. Front loaders take longer to wash, use less water, and are more gentle on your clothes. This is my 13 years of Front Loader experience. However, the new Agitator free Top Loaders offer similar performance but since I don't own one, I can't attest to these claims. Another thing to consider is a Pan and a Floor Drain for the washer. This is in the event there is a leak. Another must are braided stainless steel supply lines. Something I do not have is automatic shutoff of Supply Water when a leak is detected. This equipment exists but I have not installed it at my house since I have a 2" Floor Drain in a Tiled Laundry Room. You will really appreciate the upstairs Laundry Room soon!
ReplyDeleteAll The Best,
Joe R.